
Growing up in the south, food was such a big part of our lives. Holidays, birthdays,

Sundays or any celebration like good grades on a report card or Wednesday, always centered around food and the end of every good feast, the dessert. As a kid I remember the women in our family would begin planning for Thanksgiving and Christmas in July. Menus would be discussed and discussed and discussed and discussed some more. Thanksgiving always included my grandmother’s famous turkey and cornbread dressing. Sometimes the cornbread dressing included oysters and other times pecans, but it always contained homemade cornbread. For Christmas we always mixed it up, having ham, rib roast or lamb as the meal’s centerpiece, but regardless of the main dishes for Thanksgiving and Christmas the side dishes and dessert were the key topics of all menu planning conversation.
My brother is a pie man. He especially loves pecan pie, and even now he starts talking

about homemade Thanksgiving pie about the time summer ends. It is in our genes to plan for Thanksgiving in the summer, I guess. 🙂 On the other hand, while I like pie, I love cake. My grandmother used to make an Italian cream cake for Christmas that was and is still my favorite cake of all time. I often still make it for Christmas Eve for my family. The problem with this particular cake is I love it so much I usually have to throw it away before I eat the whole thing by myself! My name is Melinda and I am addicted to homemade Italian Cream Cake. 🙂
Preparing food for someone else is a great way to express affection in my book. It just makes sense. Eating is our most basic need and having someone take the time make food for you says, “You are important to me. I want you to feed you because of I love you.” I have taken to baking for friends in recent years. A homemade baked good is the perfect gift. It is personal and intimate and since I spend time shopping for ingredient the making it, I think it shows I care, but it is not a needlepoint sampler you might have to hide in the closet until I come over next. Plus a cake is something you likely don’t have these days. No one bakes all the time anymore, so what a treat! Yes, I think it is a great present.

Today one of my dearest friends was appointed to a board position by Houston’s mayor.

It was a really big deal and I am so proud of her. I was excited to celebrate this huge achievement today at City Hall and at a luncheon some of her friends hosted for her after the City Council Meeting. In addition to all of the festivities today I made her a cake, of course! I love making cakes for Cindy because she loves them so much! 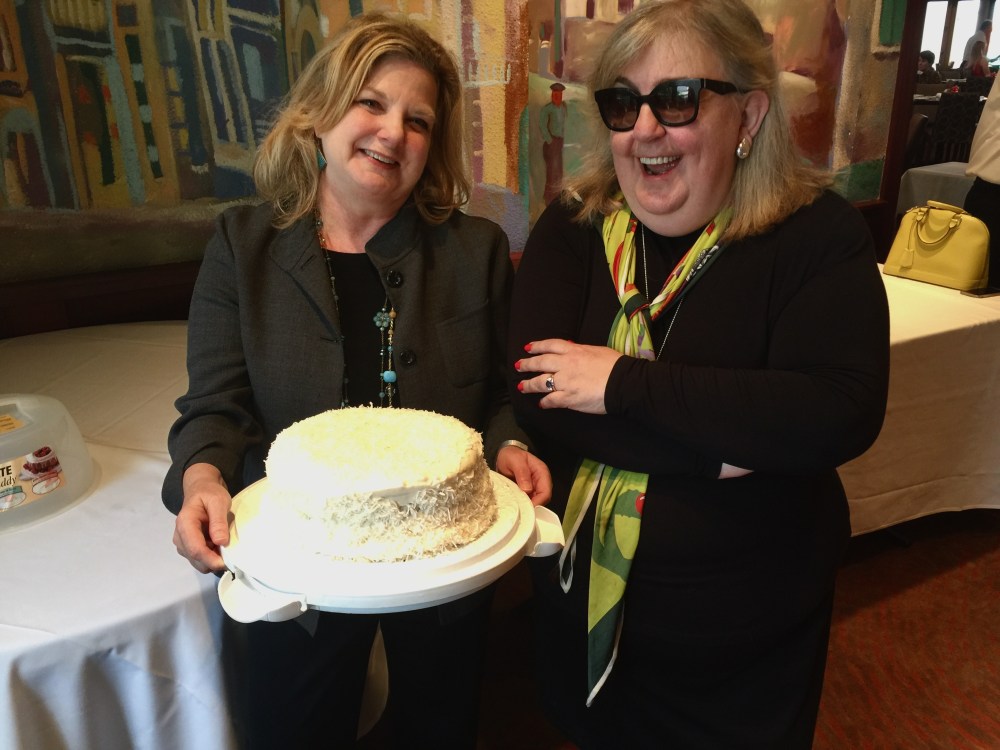 The first time I made a cake for her she asked me to make a coconut cake, but she wanted the cake part to be chocolate. That kind of stumped me so I actually had to create a cake just for her. After a lot testing I finally perfected the recipe that follows. I hope you enjoy it as much as she does!
Ingredients
The Cindy Cake (Chocolate cake with Vanilla Coconut Buttercream Frosting):
- Crisco, for greasing the pans
- 1 3/4 cups all-purpose flour, plus more for dusting
- 2 cups sugar
- 3/4 cups cocoa powder (I use Hershey’s)
- 2 teaspoons baking soda
- 1 teaspoon baking powder
- 1 teaspoon salt
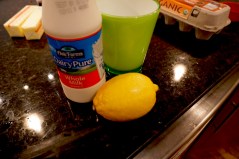
- 1 cup milk plus 1 TBL lemon juice
- 1/2 cup vegetable oil
- 3 large eggs, at room temperature
- 1 TBL vanilla extract
- 1 cup of boiling water
- Simple Syrup – recipe follows
- Vanilla Coconut Frosting – recipe follows
Directions
Preheat the oven to 350 degrees F. Grease 2 9-inch round cake pans with crisco. Line with parchment paper, then grease and flour the pans.
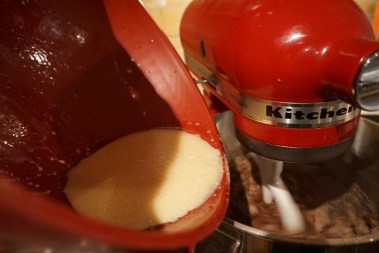
Combine milk with lemon juice and set aside. Sift the flour, sugar, cocoa, baking soda, baking powder, and salt into the bowl and combine with a whisk or in an electric mixer with the paddle attachment. In another bowl, combine the milk, oil, eggs, and vanilla. Using a hand mixer or electric mixer on the lowest speed, slowly add the wet ingredients to the dry. Over mixing will cause the batter to become tough so low speed is important. With the mixer still on low, add the
boiling water and stir just to combine, scraping the bottom of the bowl with a rubber spatula. Pour the batter into the prepared pans and bake for 28 to 33 minutes. Using a toothpick test for doneness. (Having a cake slightly undercooked is preferable since it will continue to cook while it is cooling. Have a clean toothpick means it will be overcooked by the time you frost it. A little chocolate on the toothpick is a good thing.) Cool in the pans for 30 minutes, then turn them out onto a cooling rack and cool completely. I usually run a knife around the edges while it is still cooling to help when turning it out.
After the cake has cooled place one layer on a cake plate with 4 strips of wax paper beneath it to catch any frosting that drips while frosting the cake. Prick holes in the first layer and paint simple syrup on the top of the cake. This step will ensure your cake stays moist. Frost with vanilla frosting and top first layer with shredded coconut. Place second layer on top and then repeat simple syrup step. Frost top and sides of cake and cover with coconut.


Simple Syrup
1/4 cup sugar and 1/4 cup water boiled until mixed.
Vanilla Coconut Frosting
2 sticks of butter, at room temperature
1/2 cup of sour cream
16 ounces powdered sugar
1-tablespoon vanilla
1-teaspoon coconut extract
Heavy whipping cream and additional powdered sugar as needed for consistency
Cream butter and sour cream. Slowly add powdered sugar until completely mixed, add vanilla and coconut extract. If too thick add milk by tablespoons.


*To frost a cake like an expert make sure the consistency is right. Thick frosting is delicious, but if it is too thick it won’t spread easily. I always have heavy whipping cream on hand and some extra powdered sugar. Heavy whipping cream will whip up nicely if you add too much. If for some reason you add way too much add a little more powdered sugar for thickness. Once you have something thick, but easily spreadable place the first layer down on the platter, add enough frosting to the top of the bottom layer and gently spread it just on the top part of the cake. (You will frost the sides when both layers are together). Then sprinkle coconut on the bottom layer. I(f you noticed that the frosting is too thick after spreading on the bottom layer or is sticking to and pulling on the cake, add more cream to the rest of the frosting before continuing and beat well.) Add the next layer and put the majority of the remaining frosting on top of the cake and pull the frosting over the side with a spatula or knife. Continue to frost the sides of the cake by adding more frosting to the top and pulling it down the sides until the cake is frosted. Keep a hot cup of water near and if your knife gets too thick with frosting dip it and it will help spread the frosting more evenly. Once you have frosted the top and sides sprinkle coconut on the top and gently press coconut onto the sides of the cake with your hand. This is a sticky process, but it also help cover up any imperfections. I like to put the whole cake in the refrigerator for a couple of hours to let the frosting set, but you can cut the cake immediately and enjoy!

One Comment Add yours